


⭐⭐⭐⭐⭐ 4.8/5 Over 500 Satisfied Builders
Material Kit - Oil Barrel Clock
Material Kit - Oil Barrel Clock
- ✅All building materials included
- ✅Fast and easy build
- ✅Skip the material hunt
- ✅Easy installing with template
- ✅Professional results at home
✔Shipping In 3-5 business days
✔Free Returns in 14 days
✔Save money by building yourself
In stock
Couldn't load pickup availability
Customize your kit. send us a message on Instagram or Facebook to remove parts from your Kit and lower the price. @GarageDesignEU
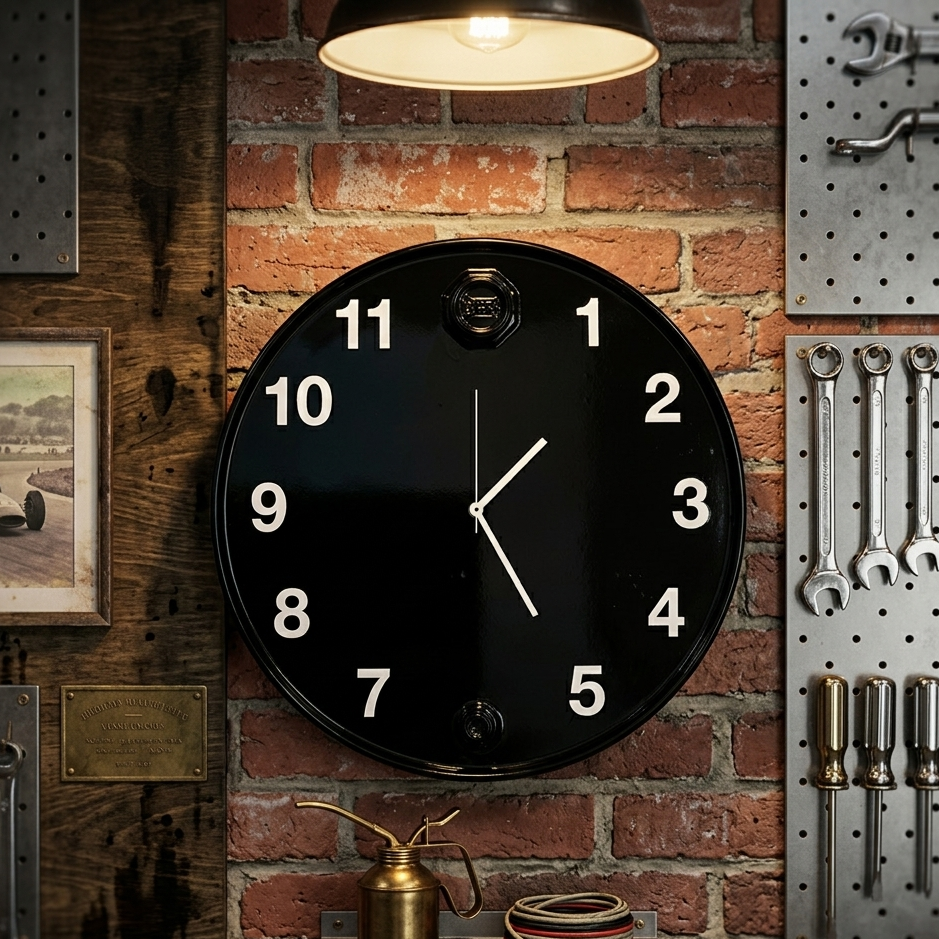
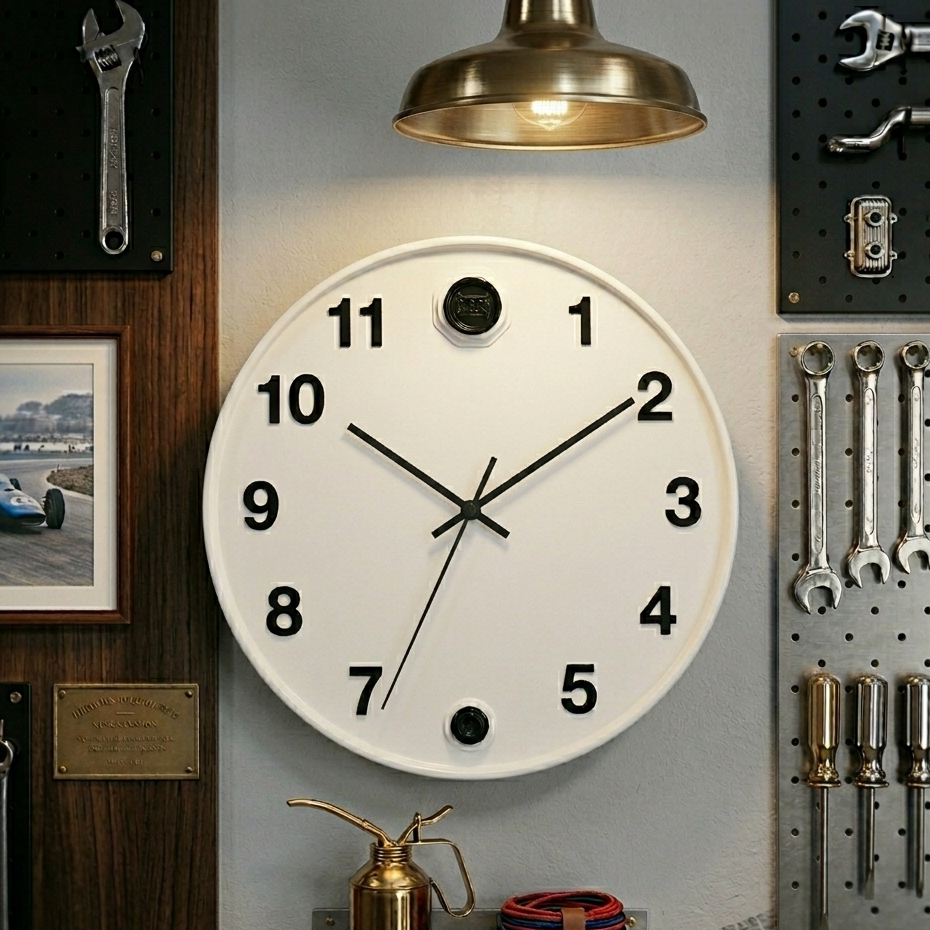
The Oil Barrel Clock is built from the top or bottom of a real oil drum, and hangs on any wall where you need to know when it's time to stop working.
Material Kit Every part you need, cut and ready to assemble. Shipped worldwide. You source the oil drum — we send everything else.
What's Included
What's Included
Shipping Details
Shipping Details
Shipping time across Europe and UK usually takes 3-8 business days.
Oildrum furniture
Every piece is handmade and customized for the customer and it can take up to 3 weeks to design and build. Shipping time is 3-5 business days.
Digital Products
No shipping. Available to download instantly after purchasing.
About the Project
About the Project
Who is this for?
Who is this for?






One Barrel. Endless Builds.
Every piece here started as an empty oil drum. Built with basic tools, following one guide.
Build them for your own garage — or turn them into a side income. Auto shops, bars, and car dealerships pay good money for furniture this unique.
Our Barrel Projects

360-Shelf

Sofa
(Click to get plans)

Table Set
(Click to get materials)

Infinity Table
(Click to get materials)

Cabinet
(Click to get materials)

Racing Seat
(Click to get materials)

Armchair
(Click to get materials)

Lounge Set
(Click to get materials)

Clock
(Click to get materials)

Half-Shelf
(Click to get materials)

Coffee Table
(Click to get materials)
360-Shelf
Sofa
(Click to get plans)
Table Set
(Click to get materials)
Infinity Table
(Click to get materials)
Cabinet
(Click to get materials)
Racing Seat
(Click to get materials)
Armchair
(Click to get materials)
Lounge Set
(Click to get materials)
Clock
(Click to get materials)
Half-Shelf
(Click to get materials)
Coffee Table
(Click to get materials)
360-Shelf
Sofa
(Click to get plans)
Table Set
(Click to get materials)
Infinity Table
(Click to get materials)
Cabinet
(Click to get materials)
Racing Seat
(Click to get materials)
Armchair
(Click to get materials)
Lounge Set
(Click to get materials)
Clock
(Click to get materials)
Half-Shelf
(Click to get materials)
Coffee Table
(Click to get materials)

Stop Hunting For All The Materials
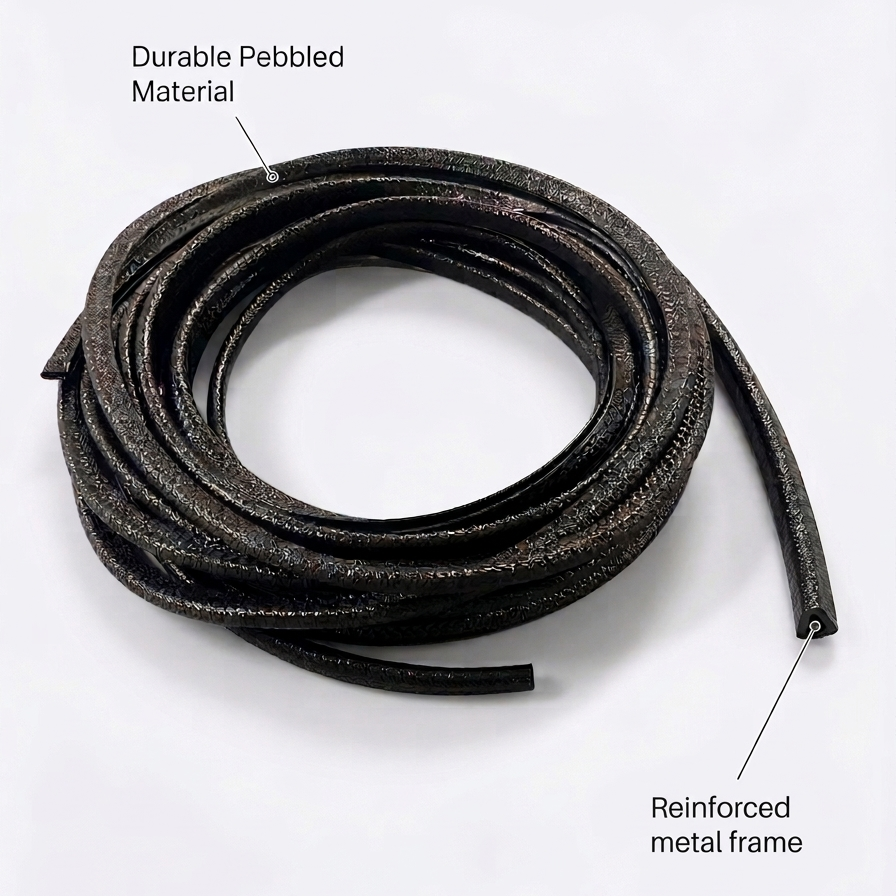
Finding the right foam, the right steel profile, the right edge trim — from three different suppliers, minimum order quantities, wrong sizes. Most DIY projects die here, before a single cut is made.
Answers To Your Questions
1. What's actually in the kit?
Everything you need to build the piece — except the barrel.
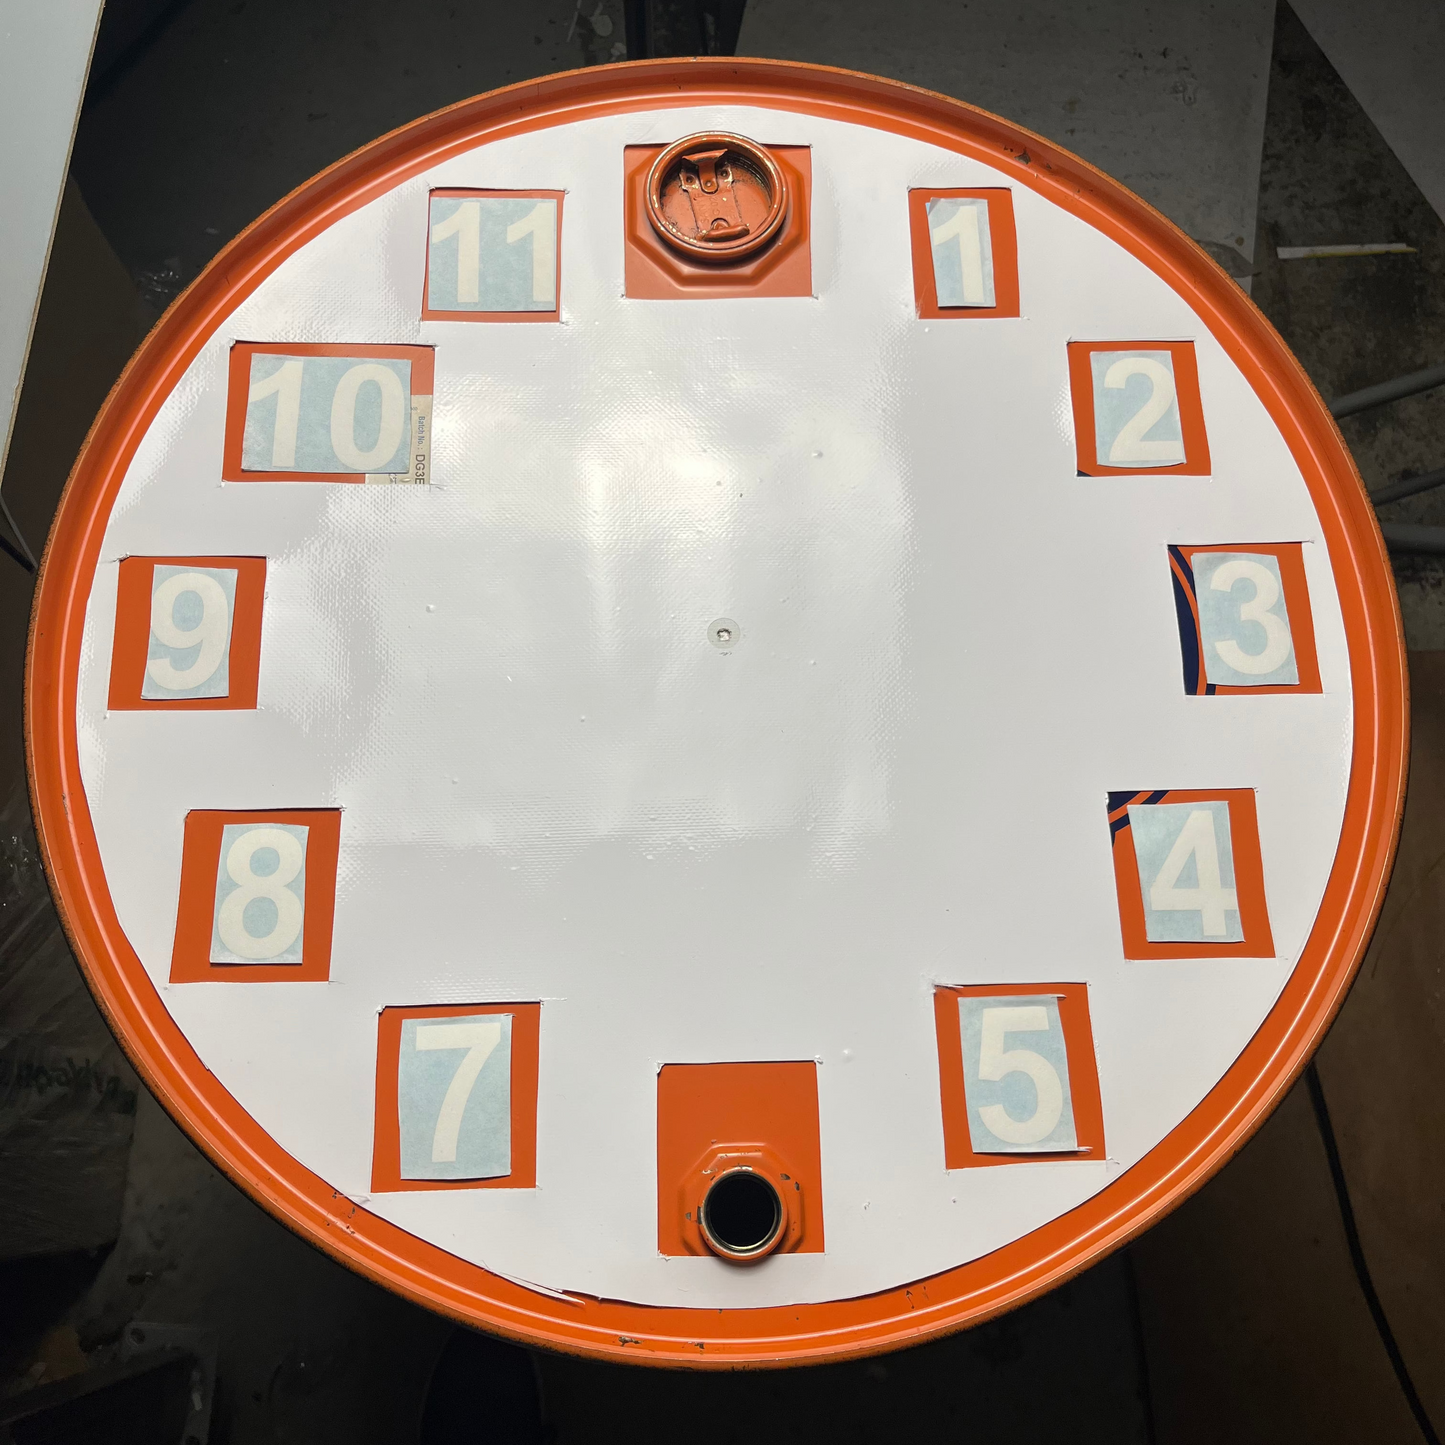
That means the wood panels cut to size, leather, foam, metal rods, hardware, cutting templates for marking your barrel, and any other parts specific to that build. Every piece pre-measured, pre-cut where possible, and ready to go. The full contents for this build are listed further up the page.
2. Why buy the kit instead of sourcing materials myself?
Time and hassle, mostly.
If you source everything yourself, you're looking at:
-Wood shop for the plywood or timber
-Fabric/upholstery store for the leather and foam
-Metal supplier for the rods and hardware
-A day or two of driving, measuring, cutting, and hoping you got the sizes right
-Leftover material you paid for but won't use
The kit skips all of that. Everything ships together, cut to the exact sizes you need, no waste, no wrong pieces. You order it, it arrives, you build.
For a lot of builders the kit ends up cheaper than sourcing separately once you factor in leftover material, tools you'd have to buy for one cut, and the time spent chasing parts
3. Do I still need the building guide with the kit?
Yes — every kit comes with the matching build guide included. Photos, videos, exact measurements, tools list. Same guide that's sold separately in the bundle.
You get the parts and the instructions in one purchase. Nothing else to buy
4. What tools do I actually need?
Every guide has its own tools list, but here's what covers most projects:
Almost every build needs:
-Angle grinder with metal cutting disc (this is the one tool you'll use on every project)
-Metal sanding discs for the grinder
-Drill and drill bits
-Measuring tape, marker, masking tape
-Sandpaper (240–320 grit for initial, 400–600 for finish)
-Safety gear: gloves, glasses, respirator or paint mask
-Workbench, clamps, buckets
Only for some projects:
-MIG or TIG welder (needed for some builds, not all — many can be built without welding)
-Magnetic welding squares (if welding)
-Spray gun and compressor, or spray paints
-Staple gun and scissors (only for builds with padded seats)
-Jigsaw (only for a few builds that use a wood top)
The tools list at the start of each guide tells you exactly what to have ready before you begin.
If you already work in a garage or shop, you probably have 80% of what you need. And if you're missing a welder, you can start with the builds that don't need one and work your way up.
5. Is it safe to cut oil barrels?
Yes, if you follow one rule: only use barrels when you know what was inside them.
Every guide includes a full safety section — how to inspect the barrel, clean it properly before cutting, and set up your workspace. If you can weld or use a grinder safely, you can do this safely.
The main thing to avoid: don't cut barrels that held fuel, gasoline, or solvents. Even a barrel that looks empty can still have vapor inside that ignites from grinder sparks. If you don't know what was in the barrel, don't cut it — find another one.
Most barrels you'll come across (motor oil, hydraulic oil, food-grade, water) are fine once cleaned properly. The guide walks you through it.
6. What if a part is missing or damaged?
Message me. I ship these personally and I stand behind every kit. If anything's missing, damaged, or wrong when you open the box, I'll replace it — no arguing, no paperwork.
7. How long does it take to build?
Most builds are a weekend project. Some can be finished in an afternoon once you have everything laid out.
Because the kit arrives pre-cut and pre-measured, you skip the slowest part of any build — the sourcing, the measuring twice, the fixing mistakes. You go straight to building.
8. Where do I get the oil barrel?
Almost anywhere. And usually free.
Try local car shops, workshops, farms, recycling yards, Facebook groups or scrapyards. Empty barrels sit around everywhere — most places are happy to give them away because otherwise they have to pay to dispose of them.
I've had customers pick up barrels for free within a day of asking around.
9. What if it doesn't work for me?
Just message me. I built the piece, I made the kit, I wrote the guide. If you get stuck on a step, I can help you through it directly

How It Works
Building something from scratch usually means driving between hardware stores hunting for the right parts. Not here. The Material Kit ships with everything cut to size — you just source an empty barrel and follow the guide.
GarageDesign
Material Kit - Oil Barrel Clock