Skip to product information
1 of 4

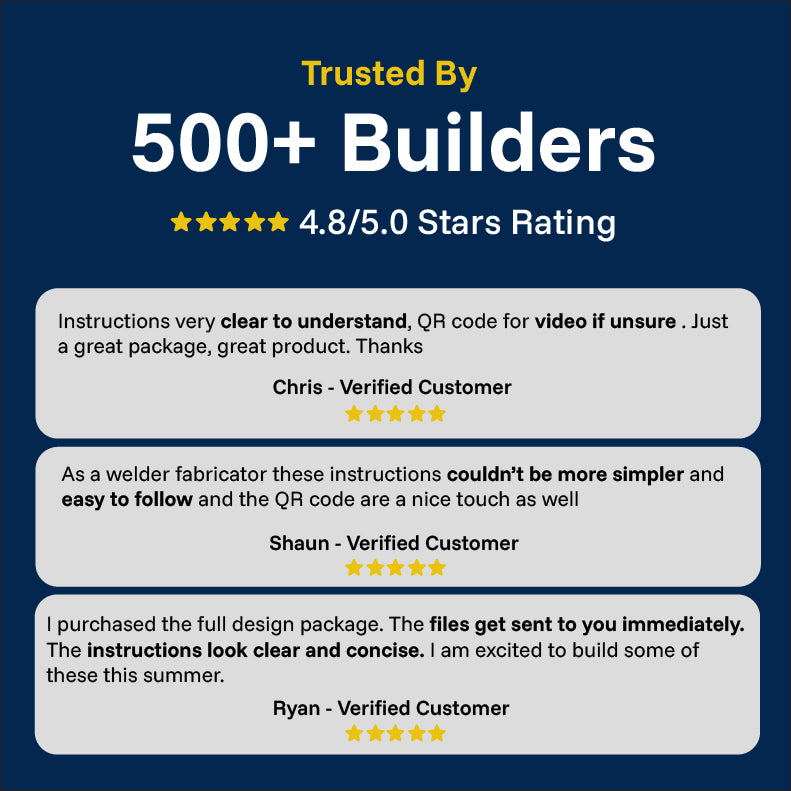
⭐⭐⭐⭐⭐ 4.8/5 Over 500 Satisfied Builders

Building Guide - Oil Barrel Racing Seat

Building Guide - Oil Barrel Racing Seat

Regular price €9,90 EUR
Regular price €17,90 EUR Sale price €9,90 EUR
Sale Sold out
  • ✅Clear step-by-step instructions
  • ✅Saves time and effort
  • ✅Professional result at home
  • ✅Avoid costly mistakes
  • ✅Build with clarity, not confusion
  • ✅Instant access after purchasing
  • ✅Beginner friendly
Taxes included.
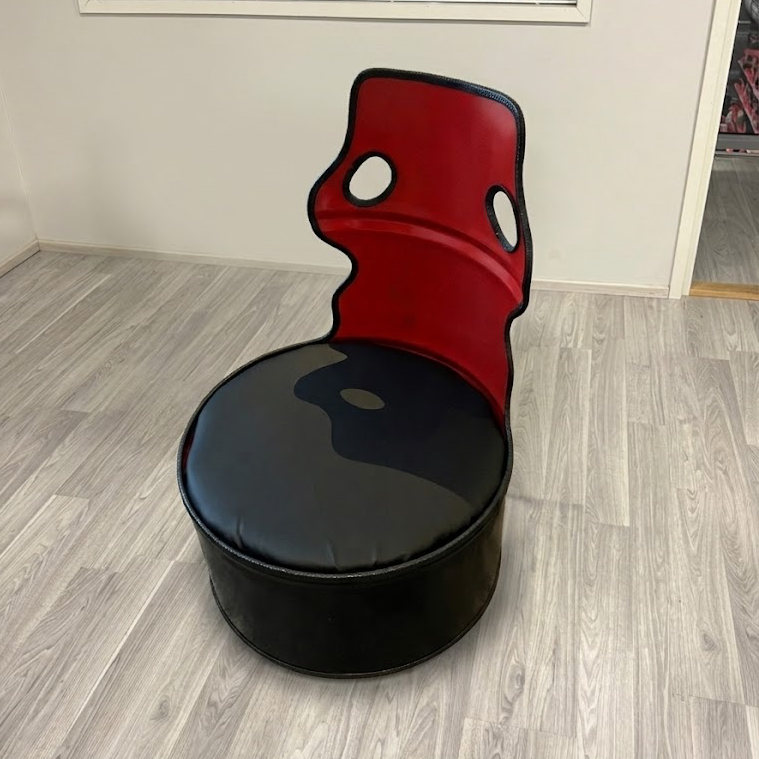
The Oil Barrel Racing Seat is the chair for the corner of your garage, man cave, or game room — with hidden storage underneath for the controllers, headsets, and games you don't want sitting on the floor.
Building Guide A step-by-step PDF with exact measurements, a full materials list, tool list, and tips for every stage of the build. Download instantly and start the same day.

What's Included

Building Guide PDF

- 12-step instructions, written and structured for clarity
- Helpful images throughout — blueprints, measurements, and reference diagrams
- Full materials list with exact quantities
- Full tools list
- Exact measurements for every cut
- Common mistakes and tips at every step
- Available in English only
- Instant PDF download after purchase
- Free updates for life

Due to the nature of digital products, all sales are final.

Shipping details

Shipping time depends on where you live and the estimated time can be seen on check out. In Europe the shipping time estimate is 5-8 business days.
Oildrum furniture
Every piece is handmade and customized for the customer and it can take up to 3 weeks to design and build. Shipping time is the same 5-8 business days.
Digital Products
No shipping. Available to download instantly after purchasing.

About the Project

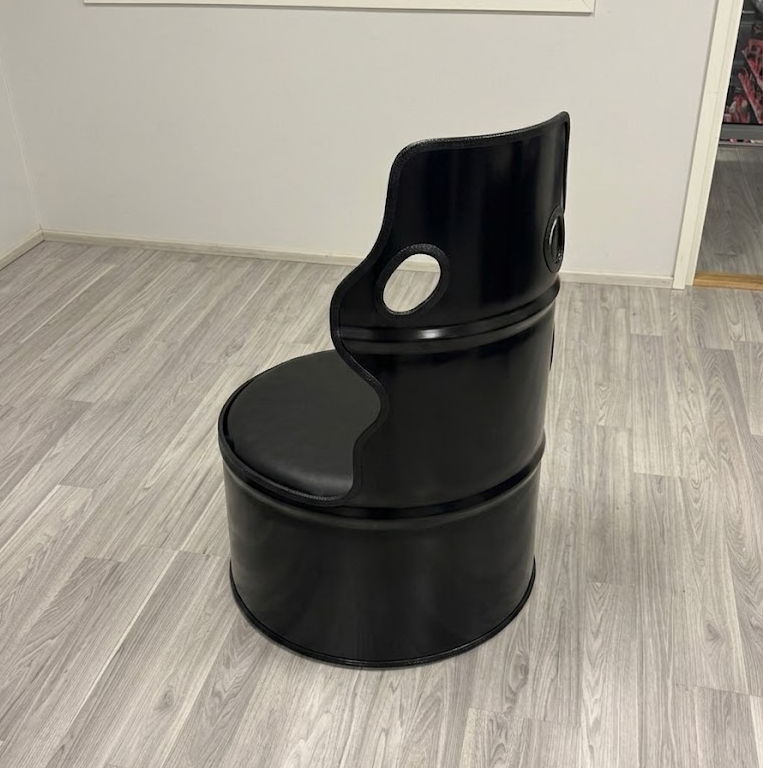
The Racing Seat takes its shape from a rally car bucket seat — high backrest, cutout handles, and a seat low enough to settle into. A full oil drum becomes the body, the backrest is cut to shape from the upper section, and the cushion lifts out to reveal the storage space underneath. Built for sitting in for hours, not for five-minute breaks.

Difficulty: Easy — a weekend project. Light welding required for the internal frame.

Budget estimate: Around €X total — kit, drum, and paint.

Time: Around 10–14 hours total. Most builders finish it in a weekend.

Tools needed: Angle grinder, jigsaw or plasma cutter, MIG welder, drill, paint gear (brush, roller, or spray can), sandpaper, screwdriver.

Skills used: Tracing and cutting metal with a jigsaw or plasma cutter, light MIG welding, drilling, painting, mounting upholstered cushions.

Build phases:

- Trace the backrest shape onto the drum using the template
- Cut the backrest with a jigsaw or plasma cutter
- Deburr all edges and clean the drum
- Weld the internal support frame inside the drum
- Paint the drum and frame
- Mount the seat cushion with removable hardware
- Apply edge banding around the backrest cutouts

Who is this for?

Built for the people who actually use their garage.

- DIY builders who'd rather spend a Saturday in the workshop than at a furniture store
- Console and PC gamers who want a real chair, not an office chair with racing stripes
- Car guys, bike guys, and motorsport fans who appreciate the bucket-seat look
- Workshop owners who want a proper seat in the corner
- Small business owners furnishing a showroom, dealership, or industrial-style office
- Anyone who values craft over convenience and wants something nobody else has
View full details

One Barrel. Endless Builds.

Every piece here started as an empty oil drum. With simple steps and basic tools, they turn into unique furniture.

Build them for your own garage — or turn them into a side income. Auto shops, bars, and car dealerships pay good money for furniture this unique.

Full Collection

Answers To Your Questions

1. Is this just AI-written filler?

No. I built every single one of these projects in my own workshop and documented them as I went.
-Each guide includes:
-Step-by-step written instructions
-Photos from every stage of the build
-A full walk-through video
-Exact measurements for every cut
-A complete tools list
-A complete materials list
Nothing generic. Nothing padded. You're getting what I actually did in my shop, not something a computer made up.

2. Will this actually help me build?

That's the whole point of paying instead of watching free tutorials.
Free videos show you the vibe. They skip the numbers. You end up guessing, wasting steel, and starting over.
These guides give you the exact measurements, angles, and order of operations for every cut. No blank spots. If you can follow instructions, you can build it.

3. Do I need welding experience?

Depends which project. Some need basic welding, most don't.
Every guide starts with a tools section so you know what you're getting into before you start. Easiest builds (like the half-shelf and clock) need almost nothing. Others get more involved.
You can start with the easy ones and work your way up. Everything you learn on the first build carries over to the next.

4. What tools do I actually need?

Every guide has its own tools list, but here's what covers most projects:
Almost every build needs:
-Angle grinder with metal cutting disc (this is the one tool you'll use on every project)
-Metal sanding discs for the grinder
-Drill and drill bits
-Measuring tape, marker, masking tape
-Sandpaper (240–320 grit for initial, 400–600 for finish)
-Safety gear: gloves, glasses, respirator or paint mask
-Workbench, clamps, buckets
Only for some projects:
-MIG or TIG welder (needed for some builds, not all — many can be built without welding)
-Magnetic welding squares (if welding)
-Spray gun and compressor, or spray paints
-Staple gun and scissors (only for builds with padded seats)
-Jigsaw (only for a few builds that use a wood top)
The tools list at the start of each guide tells you exactly what to have ready before you begin.
If you already work in a garage or shop, you probably have 80% of what you need. And if you're missing a welder, you can start with the builds that don't need one and work your way up.

5. Is it safe to cut oil barrels?

Yes, if you follow one rule: only use barrels when you know what was inside them.
Every guide includes a full safety section — how to inspect the barrel, clean it properly before cutting, and set up your workspace. If you can weld or use a grinder safely, you can do this safely.
The main thing to avoid: don't cut barrels that held fuel, gasoline, or solvents. Even a barrel that looks empty can still have vapor inside that ignites from grinder sparks. If you don't know what was in the barrel, don't cut it — find another one.
Most barrels you'll come across (motor oil, hydraulic oil, food-grade, water) are fine once cleaned properly. The guide walks you through it.

6. What's the total cost to build one?

Usually low. Most people already has some.
The barrel is often free. A lot of the extra materials — screws, wood, paint — you probably already have in your workshop.
Some projects needs foam and upholstery. The price depends on quality but usually you can get away with 20-50€.
If you're missing something, we also sell material kits (€50–€150 depending on the project) that ship you everything except the barrel.

7. Why €29.90? Is that for one guide or all of them?

All of them.
You get every guide I've ever made — 9 builds — for €29.90. That's about €3 per project.
And it's not a one-time library. I release at least 2 new build guides every month, and they're added to your account for free.

8. Where do I get the oil barrel?

Almost anywhere. And usually free.
Try local car shops, workshops, farms, recycling yards, Facebook groups or scrapyards. Empty barrels sit around everywhere — most places are happy to give them away because otherwise they have to pay to dispose of them.
I've had customers pick up barrels for free within a day of asking around.

8. What if it doesn't work for me?

Instant download, so I can't offer refunds on delivered digital files.
But if you get stuck on a step, message me. I built these — I can help you through anything specific. I answer messages from buyers personally.

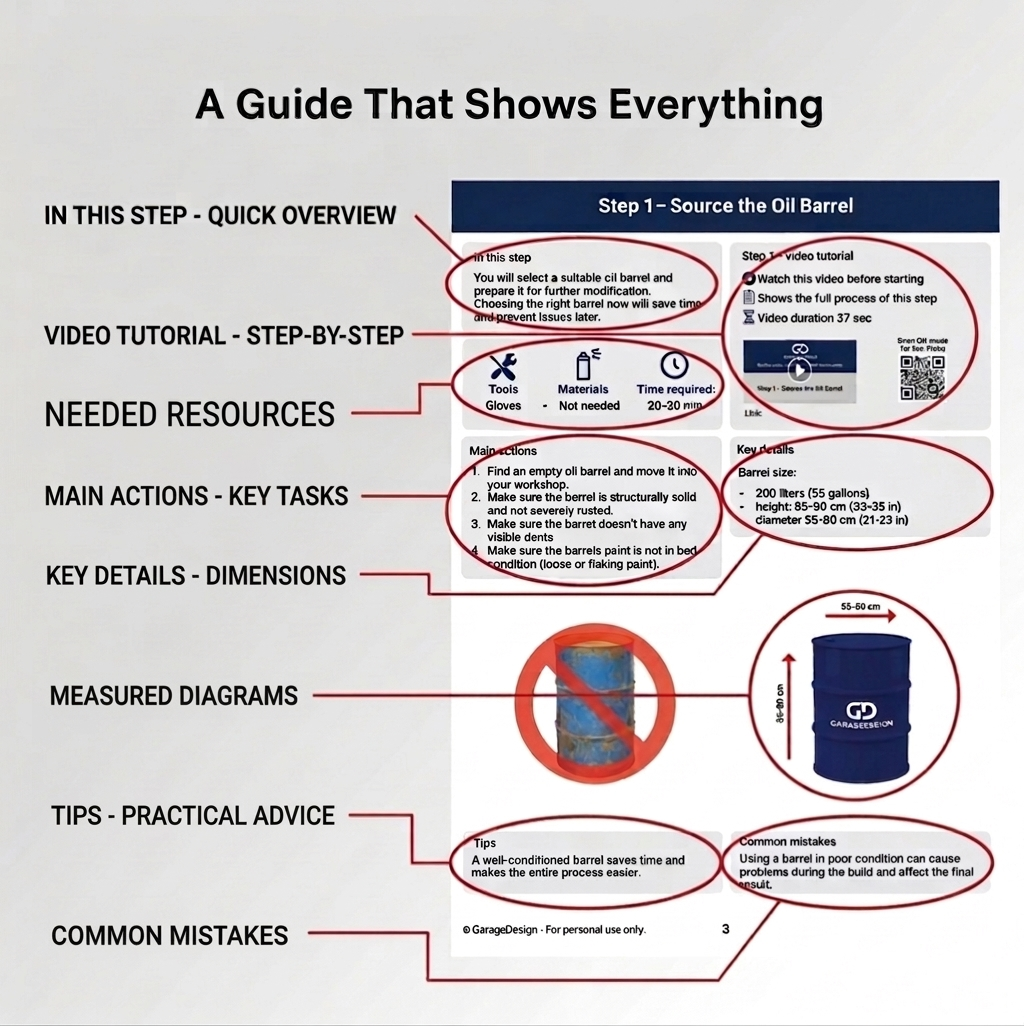
Layout of every step

Every guide follows the same clear structure — so you always know what you're looking at.

Add to cart